The application I’m building for my client at the moment had some interesting opportunities for refactoring.
More precisely, to extract some reusable components that could be used on other projects. When you call on reusability, it begs for NuGet.
Setting the stage
All of those projects are hosted on Microsoft Visual Studio Team Services and this service has just the right extension for us. It may not be the best of all tools but for this very Microsoft focused client, it was the most cost efficient option for us.
Pricing
I won’t delve in the details but here’s the cost for us. At the time of this writing, Package Management offers 5 free users and additional feed users are at $4/months/users excluding any users on an MSDN Enterprise license.
Installing the extension
The first step is to install the extension. As with all extension, you will need to be an Administrator of your VSTS account to do that. If you are not, you can still go to the marketplace and request the plugin. It won’t actually install, but it will be visible in the extension menu of your account.
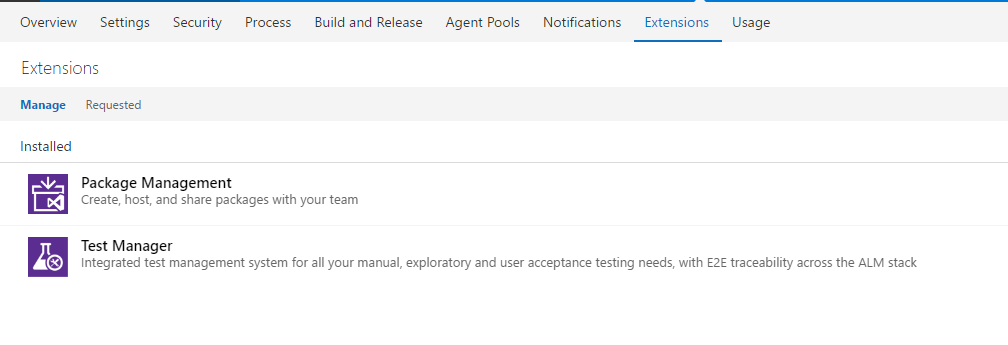
Once your VSTS administrator approve the extension and the related fees, we’re ready to setup our feed.
Setting up my first feed
Next we’re going to pick any project and go into the Build & Release section.
Here’s a gotcha. Look at this menu.

Everything is specific to your project. Right? Well it sure is not for Packages.
Feeds are NOT project specific. They may have permissions that makes them look project specific but they are not. They are scoped on your account. With that being said, I’m not interested in creating 1 feed per project.
I created a feed and called it Production (could also be Main, Release or the name of your favorite taco).
Click the button Connect to feed and copy the Package source URL to a Notepad. We’re going to be reusing it.
Setting up my NuGet nuspec file.
Here’s my default PROJECT.nuspec file.
1 | <?xml version="1.0"?> |
Yep. That easy. Now, add this file to your project that will be created into a NuGet.
For us, it’s a simple Class Library without too much dependencies so it’s not terribly complicated.
Validating your AssemblyInfo.cs
1 | [assembly: AssemblyTitle("MyAwesomePackage")] |
This is the bare minimum to have everything working. Empty will not do and, well… we’re there.
Fill them up.
AssemblyInfo.cs Versioning
1 | [assembly: AssemblyVersion("1.0.*")] |
For public OSS package, this might be a horrendous way to do versioning. Within a company? This is totally fine for us. However, we will need to change this manually when we introduce breaking changes or major features.
By default, the $version$ token will take on AssemblyInformationalVersionAttribute, then AssemblyVersionAttribute and finally use 0.0.0.0. AssemblyFileVersion will never be used.
Read up more on the $version$ token here.
Once you are here, most of the work is done. Now is time to create the package as part of your build.
Build vs Release
Here’s what is important to get. It is totally possible to publish your package as part of your build. But we won’t be doing so. Building should create artifacts that are ready to publish. They should not be affecting environments. We may create 100s of builds in a release cycle but only want to deploy once in production.
We respect the same rules when we create our NuGet packages. We create the package in our Build. We publish to the feed in our release.
Building the NuGet package
The first thing to do is to add the NuGet Packager task and drag it to be just below your Build Solution task.
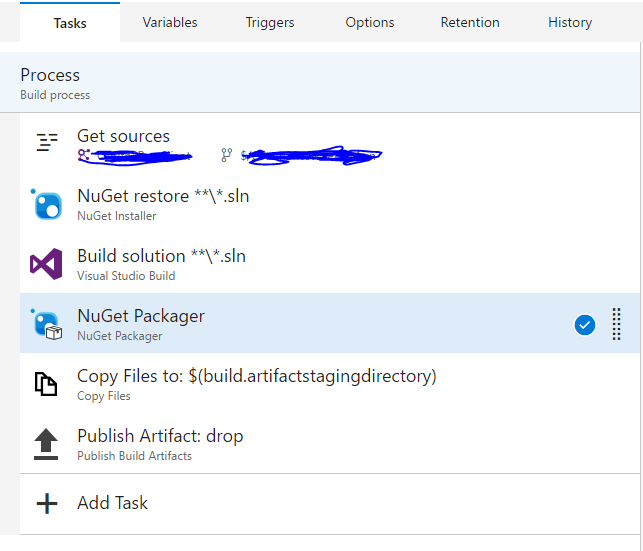
By default, it’s going to create a package out of all csproj in your project. Do not change it for nuspec. This is not going to work. Not with our tokenized nuspec file. So just target the task to the right project. To make sure that the package is easily findable in the artifacts, I’ve added $(build.artifactstagingdirectory) to Package Folder.

[2017-04-07] WARNING: If your package requires a version of NuGet that is higher than 2.X, you will have to specify the path to NuGet manually. The agents are not running the latest version of NuGet at the time of this writing. It does not allow to pick a specific version in the UI either. You have to provide your own.
Once your build succeed, you should able to go to your completed and see your package in the artifact explorer.

Publishing the NuGet Package
So the package is built, now let’s push it to the feed we created.
If you are just publishing a package like me, your release pipeline should be very simple like mine.
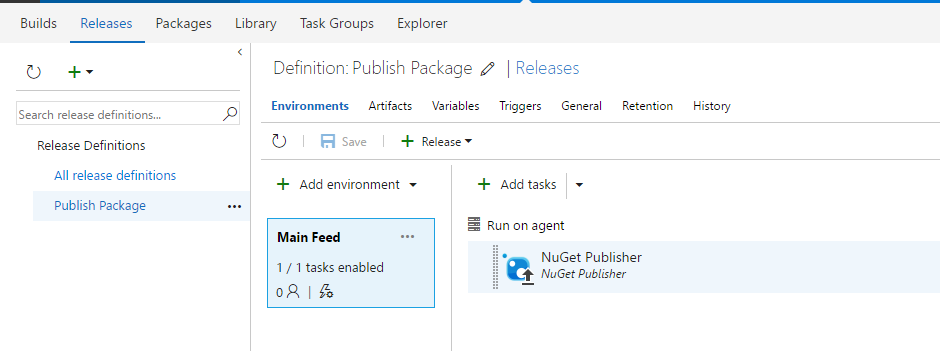
Remember that feed URL we stored in a Notepad earlier? Now’s the time to bring it back.
The NuGet Publisher task is going to need it. Just make sure you select Internal NuGet Feed and copy/paste it in your Internal Feed URL field.

Now would be a good time to create a new release for your previous build.
NOTE: Make sure that you configure your Triggers properly. In my case, my build is backed by a Production branch so I’ve set the trigger to be Continuous Deployment. If you are not branching, you may want to launch a release manually instead.
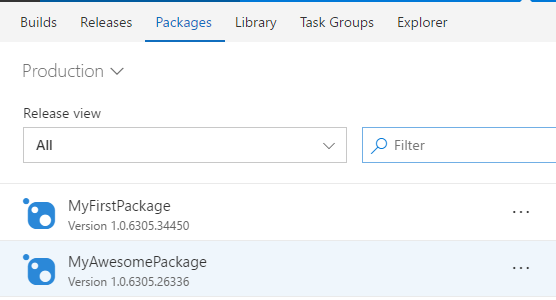
Once your release is done, your package (seen in the Artifact Explorer) should now appear in your feed.
Using the feed
If you look at the Connect to feed, you may be tempted to try the VSTS Credential Provider. Don’t. You don’t need it. You need a file. You need a nuget.config file.
VSTS Credential Provider is only used when you want to do command line operations on the feed.
1 | <?xml version="1.0" encoding="utf-8"?> |
Create a nuget.config file with your feed URL (you still had it in your Notepad, right?) and just drop it beside your SLN file. If your solution was already loaded in Visual Studio, close it and re-open it.
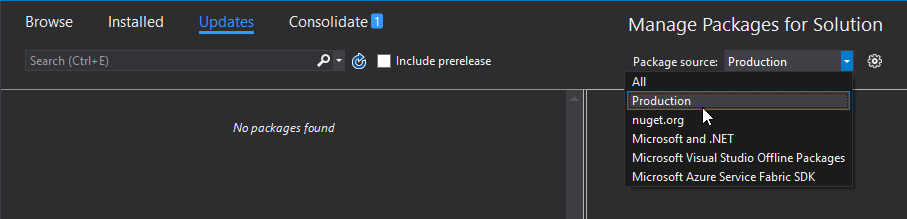
If you right click on your solution and select Manage NuGet Packages for Solution... and expend the Package Source you will see your feed present.
All of your packages should be visible and installable from there.
Are you using it?
This is my first experience creating a NuGet package in an enterprise environment. I’ve probably missed on a ton of opportunities to make the process better.
Did I miss anything? Do you have a better strategy for versioning? Let me know in the comments!
Since our authentication is already on Azure Active Directory, authentication is seamless.