Also available in a video format:
I’ve never played with any kind of Graph Database before this blog post. As a .NET Developer, this was weird. I’m so used to RDBMS like SQL Server that thinking in graph was difficult at first. Developers who uses it as their main tool also use a different kind of vocabulary. With RDBMS, we’re discussing tables, columns and joins. With graph, we’re more talking about vertices, properties, edges, and traversal.
Let’s get the vocabulary out of the way.
Graph Database Vocabulary
This is not exhaustive but only what we’re going to be discussing in this blog post.
Vertex (Verticies)
This is what I’ll also call a node. That’s what define an entity. RDBMS would have them represented as a table with a fixed schema. Graph databases doesn’t really have a fixed schema but they allow us to push documents.
Properties
So a vertex have properties just like a table have columns. Table have a fixed schema but graph databases are more like NoSQL Document databases with their more fluid schemas.
Edge
So up until now, we couldn’t make up the difference between a document and a graph database. Edges are what makes it so different. Edges define the relationship between two verticies.
So let’s take an example. A person is_friend with another person. We just defined an Edge called is_friend. That edge could also have properties like since. It would allow us to make queries on which persons in our database are friends since a specific date.
What about Cosmos DB?
With the vocabulary out, Cosmos DB allows us to create graph database really easily and make our first foray into it.
Creating a Cosmos DB Graph API
So to create my first Cosmos DB Graph database, I followed this tutorial.
For the Cosmos DB name, we’ll use beerpub, the resource group beerapp, and as for the API, we’ll use Gremlin (graph).
Then, using this other section of the quickstart, we’ll create a graph. For the database, we’ll use beerpub and for the graph ID we’re going to use beergraph.
We’ll want to keep the storage to 10Gb and the RU as low as possible since we’re just kicking the tires and wouldn’t want to receive a big invoice.
Creating our first project - Data Initializer
1 | dotnet new console -n DataInitialization |
This will create us a basic console application from which we can initialize our data.
Let’s open up Program.cs and create some basic configuration that we’re going to use to connect to our Cosmos DB Graph API.
1 | private static string hostname = "beerpub.gremlin.cosmosdb.azure.com"; |
Then, make sure the following usings are at the top of your Program.cs
1 | using System; |
Your authKey will be found in your Azure Portal right here:
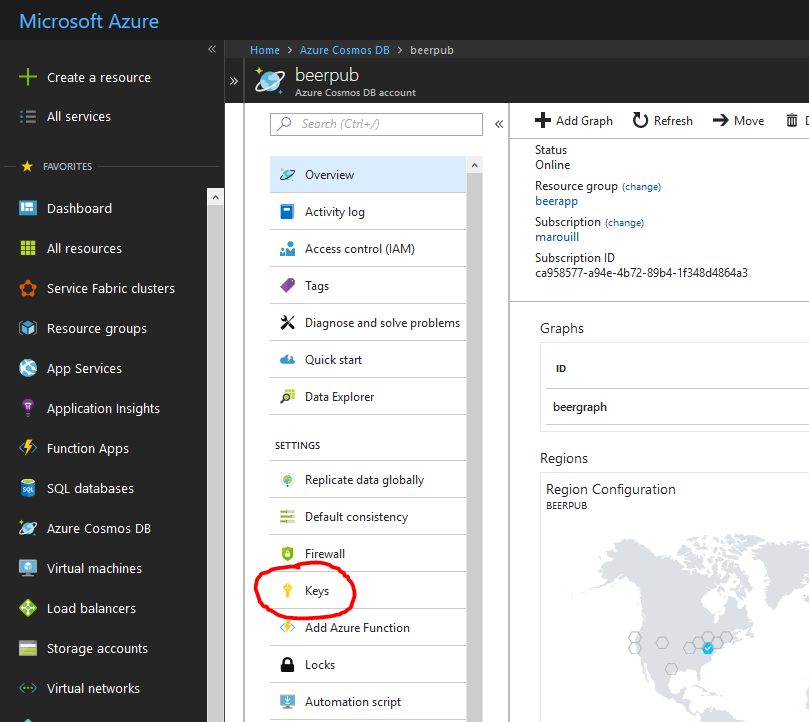
Or alternatively, you could run the following Azure CLI 2.0 command to retrieve both of them:
1 | az cosmosdb list-keys -n beerpub -g beerapp |
Finally, we need to enable support for async in our Main(...) and add the basic client initialization.
1 | static void Main(string[] args) |
Our bootstrap is completed and we are now ready to go.
Since we’ll want to start from scratch, let’s use the Gremlin drop step to clear our whole graph before going further.
1 | // cleans up everything |
Now we need to add beers and breweries. Those are represented as vertex (or Verticies). Vertex can have properties. Properties belong to that specific vertex. For our beers and breweries, we’d like to give them a proper name that will be easy to read instead of an id.
1 | // add beers |
All those verticies are now all hanging around without any friends. They are single nodes without any connections or relationships to anything. Those are called edges in the graph world. To add an edge, it’s as simple as selecting a vertex (g.V('id of the vertex')), adding an edge (.addE('relationship description')) to another vertex (.to(g.V('id of the vertex'))).
1 | // add 'madeBy' |
If we run that code as-is, we should have the following show up in our Azure Cosmos DB Data Explorer.
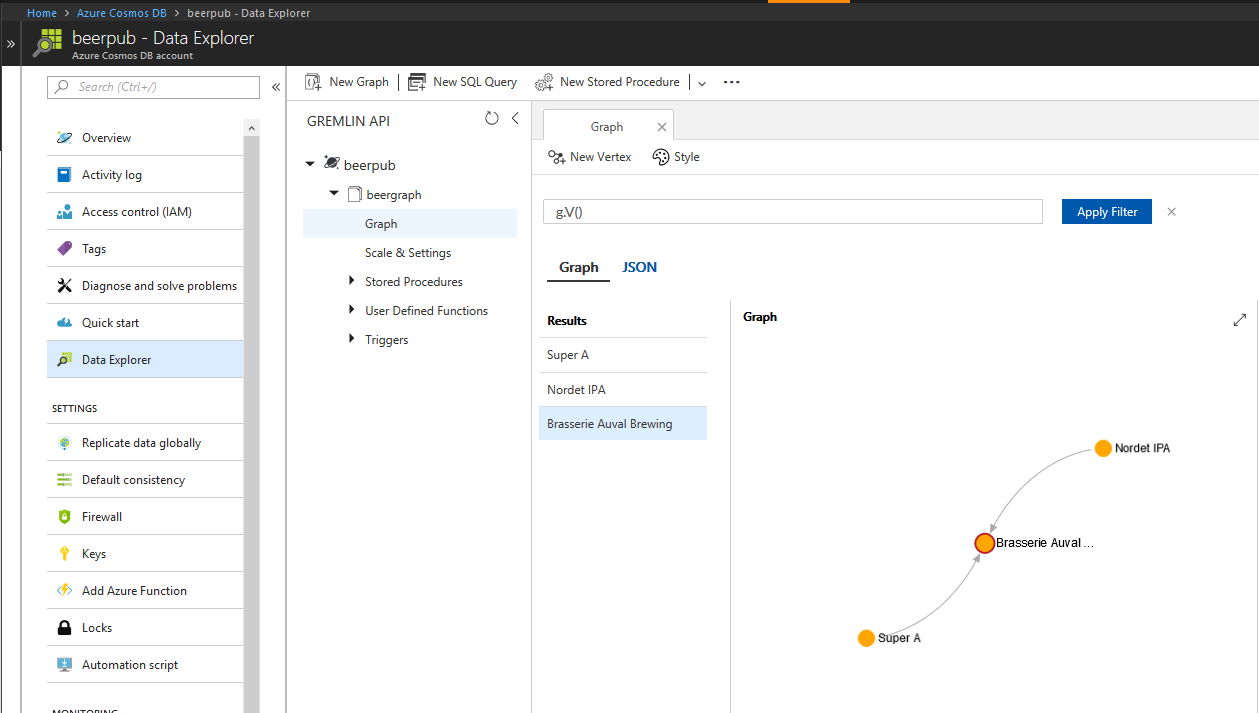
Conclusion
So this was my first beer database coming directly from an import code. Do you want to see more?
Let me know if these kinds of demos are interesting and I’ll be sure to do a follow-up!