I’ve always liked the idea of running .NET Core on multiple platforms. I’ve never had the guts however to jump cold feet into a Linux installation only on my machine.
Since Windows 10 added support for Hyper-V and Docker a while ago and with the release of the tooling for .NET Core with VS2017, I decided to give it another go.
Here is what you will need to follow along before we get any further.
Requirements
- Windows 10 64bits Pro and higher. This does not work with anything less.
- If you haven’t installed Hyper-V, Docker will prompt you to install it for you and reboot your machine. Save your work!
- Install Docker for Windows (I went with stable) and follow the steps
Making sure your C drive is shared
The last bit of requirement to ensure that your machine is ready to run .NET Core apps is to ensuring that your C drive is shared.
Once you install Docker for Windows for the first time, make sure to go in the notification tray and right click on the whale.
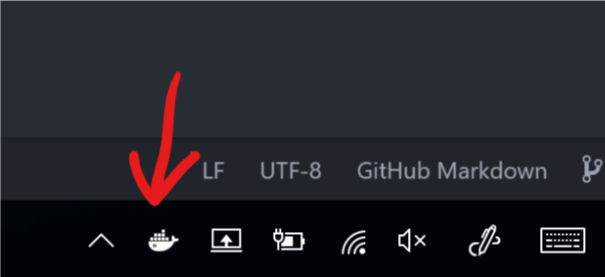
Once the contextual menu pops up, select the settings option:
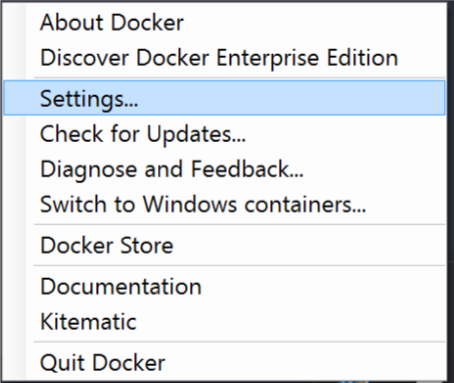
Finally, go into the Shared Drives menu on the left and ensure that the C drive is shared. It will prompt your for your password.

Click on Apply and now we are ready.
Creating a docker application
Once our little pre-requisite are satisfied, the steps are really easy to go from there.
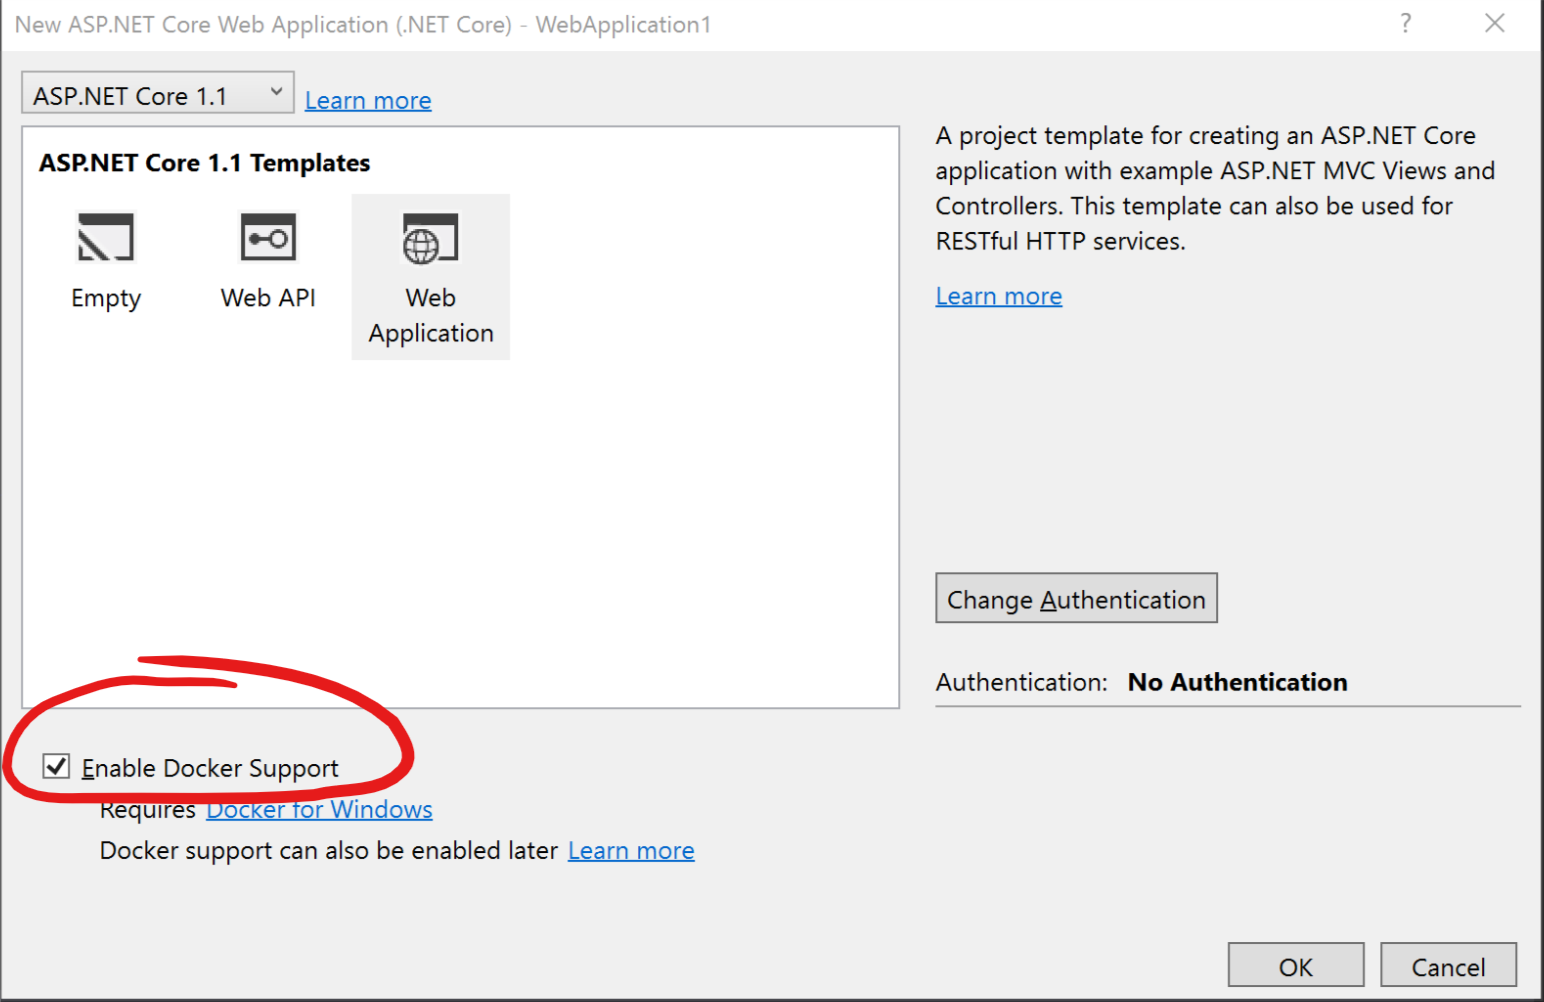
We will create a new ASP.NET Core Web Application and making sure that we enable docker support.
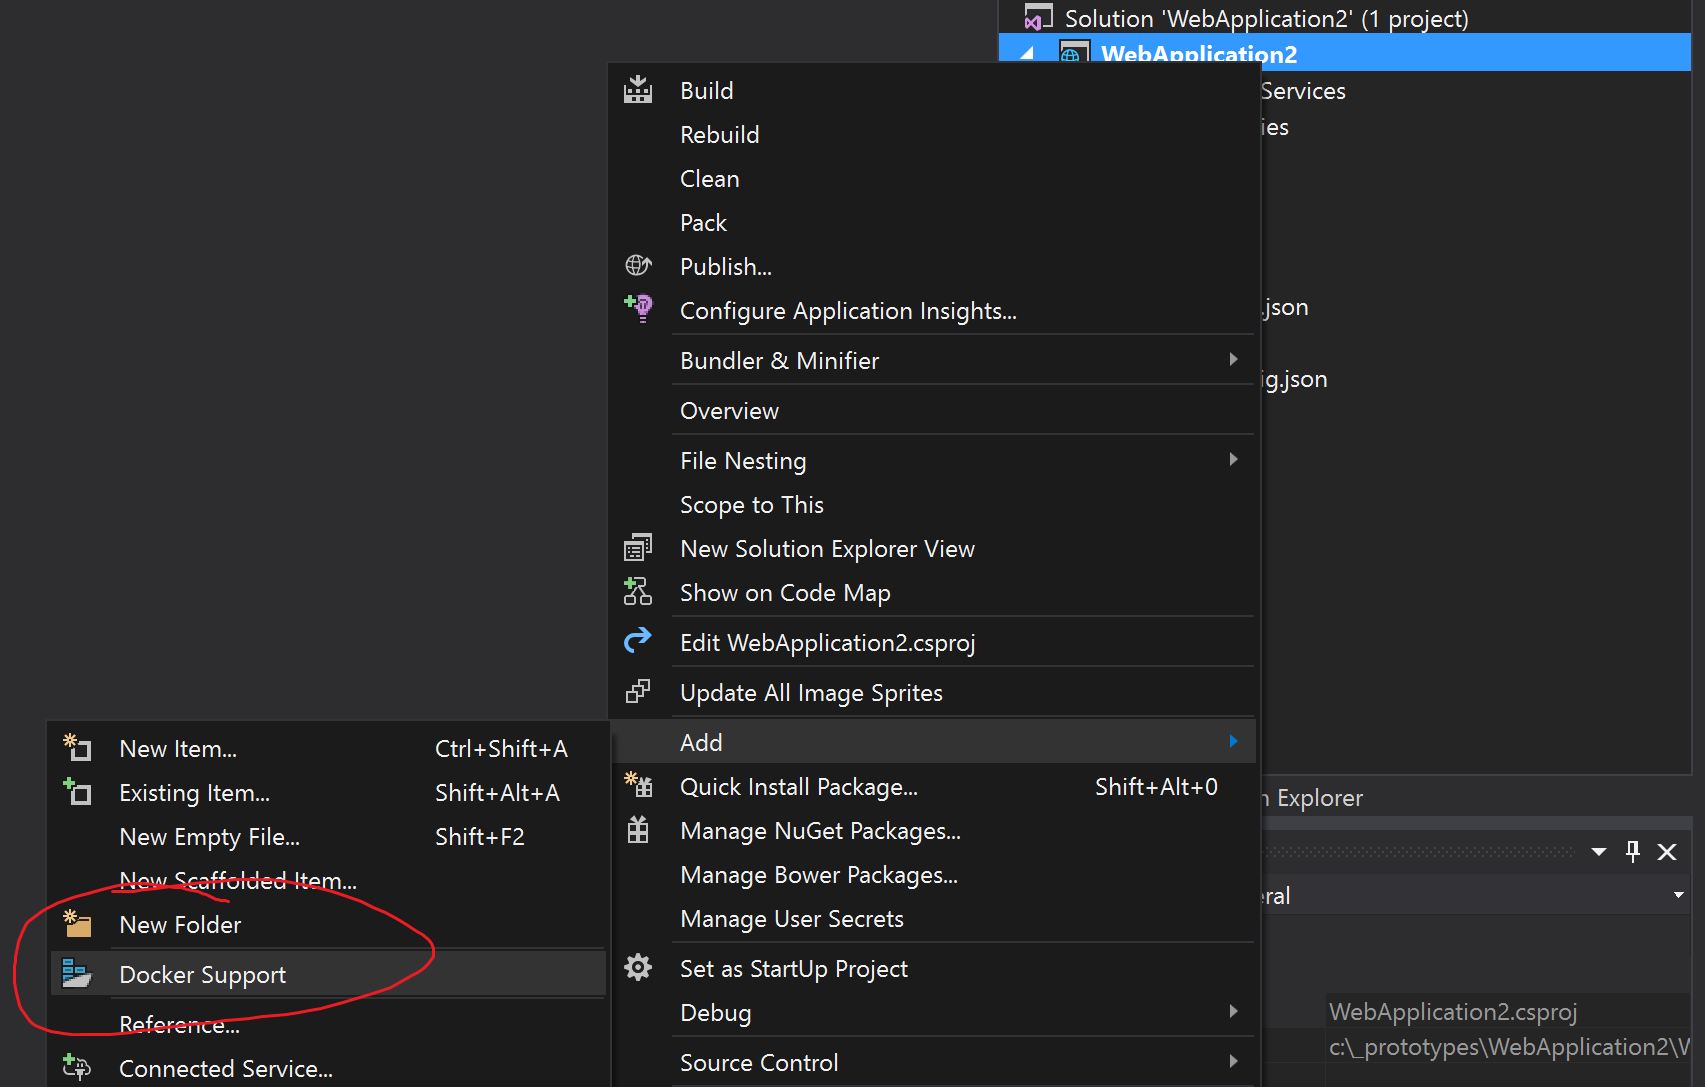
If you missed the previous step, it’s always possible to enable docker support once the application is created by right clicking on your project and clicking Add > Docker Support.
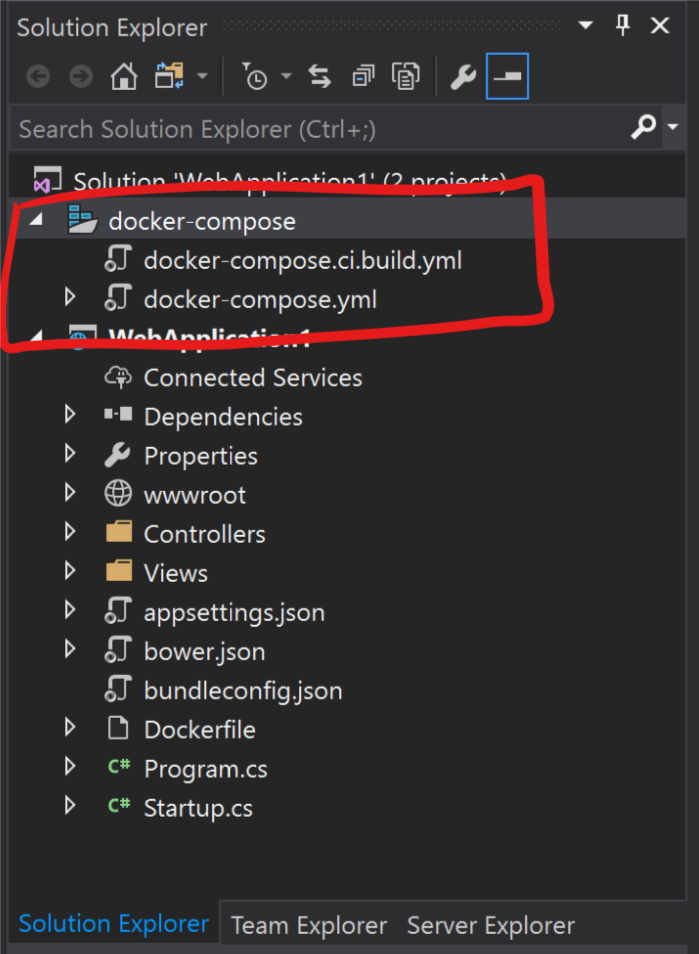
Whatever path you took, you should now have 2 projects in your solution. Your initial project and a docker-compose project.
Testing out our application
The first modification that we will do to our application is add a line in our /Views/Home/Index.cshtml file.
1 | <h1>@System.Runtime.InteropServices.RuntimeInformation.OSDescription</h1> |
I’ve added it to the top to make sure it works.
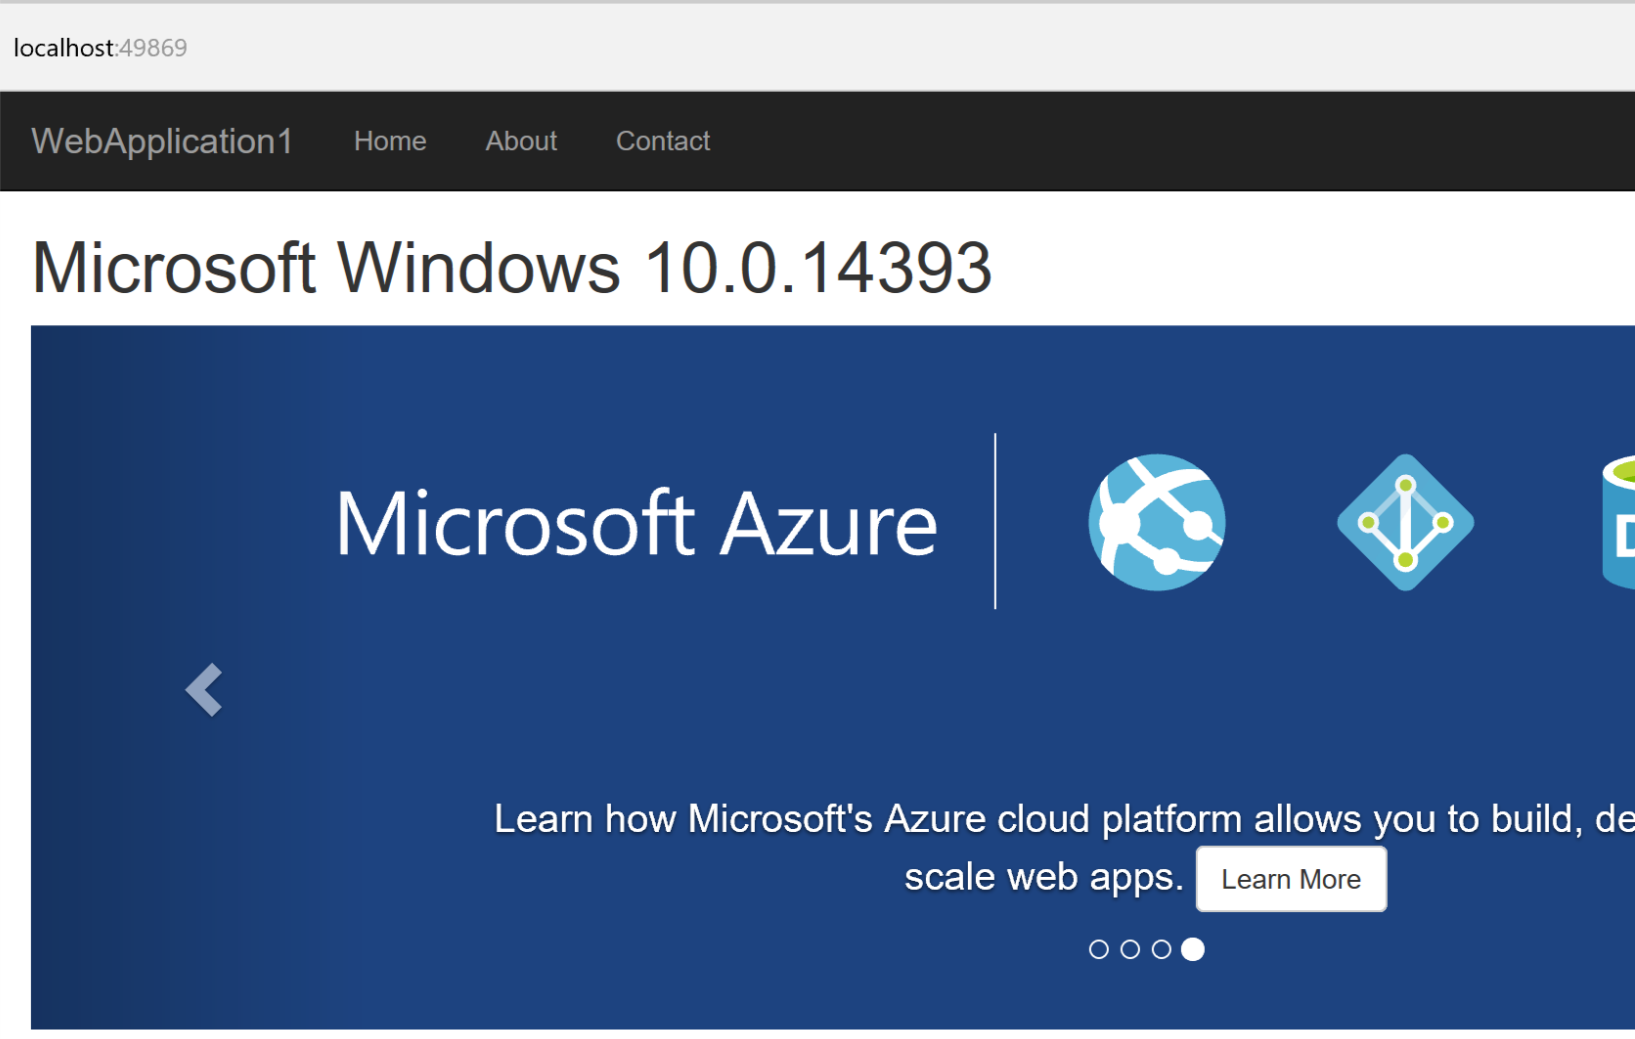
First, select your project and ensure it starts in either Console or in IIS Express mode and press F5. Once the application is launched, you should see something like this:
Now, select the docker-compose project and press F5. Another Window should open up and display something like this:
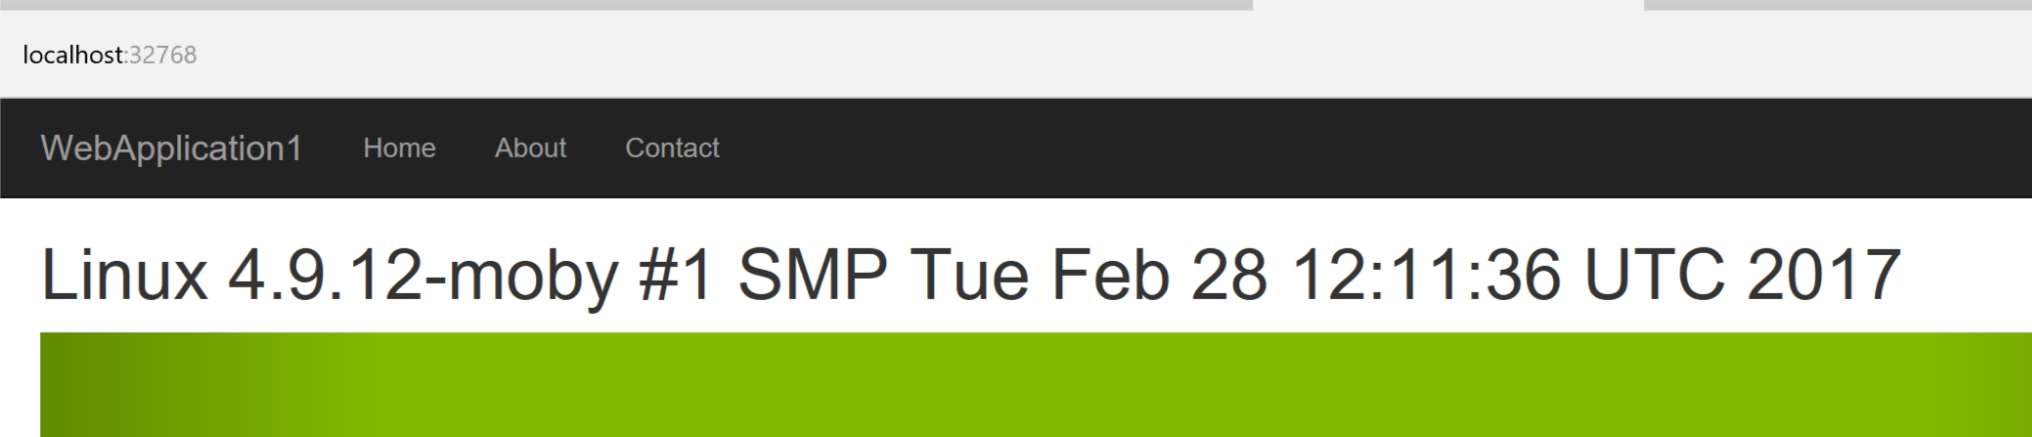
The OS Description might not be exactly this but you should see “Linux” in there somewhere. And… that’s it!
You have officially a multiplatform .NET Core application running on your Windows 10 machine.
Conclusion
Without knowing anything about how docker works, we managed to create a .NET Core application and have it run in both Windows and Linux in less than 15 minutes.
Since, it’s not because you can than you should, I highly recommend that you read up on docker to ensure that it’s the proper tool for the job.
In fact, reading on the whole concept of containers would be advised before going with both feet in.
If you are interested in seeing how we can deploy this to the cloud, let me know in the comments!