Previously, we found a way to create easily a self-signed certificate for Service Fabric. But did you know that all of this can be self-wrapped in a single command?
So let’s check it out.
1 | az sf cluster create --resource-group demo -l eastus --name myawesomecluster --vm-user-name maxime --vm-password P@ssw0rd1! --cluster-size 3 --certificate-subject-name mycluster --certificate-password P@ssw0rd1! --certificate-output-folder .\ --vault-name myawesomevault --vault-resource-group demo |
That’s bit a long… let me explode it line by line
1 | az sf cluster create --resource-group demo -l eastus --name myawesomecluster |
Woah… That’s a mouthful… Let’s see. First, we’re specifying our resource group, location and name of our cluster. Do we need to create those? Oh no. It’ll be handled for you. If the resource group exist, it will use it. If it’s missing, it will create it for you. I recommend creating a new one.
VM Size? The default at the time of writing the Standard_D2_v2 which is a general purpose Virtual Machine with 2 cores and 7 GiB of memory. They are at about $240 USD per months so… if you don’t need that much, please specify a different SKU one with the flag --vm-sku. If you’re looking for something specific, check out my Azure Virtual Machine Size Browser to help you make a choice. There are cheaper choices and I will come back to that later.
Cluster Size? One if you are testing your development scenarios. I’d start with three if you are just testing some actual code. Five at a minimum if you intend to run this in production.
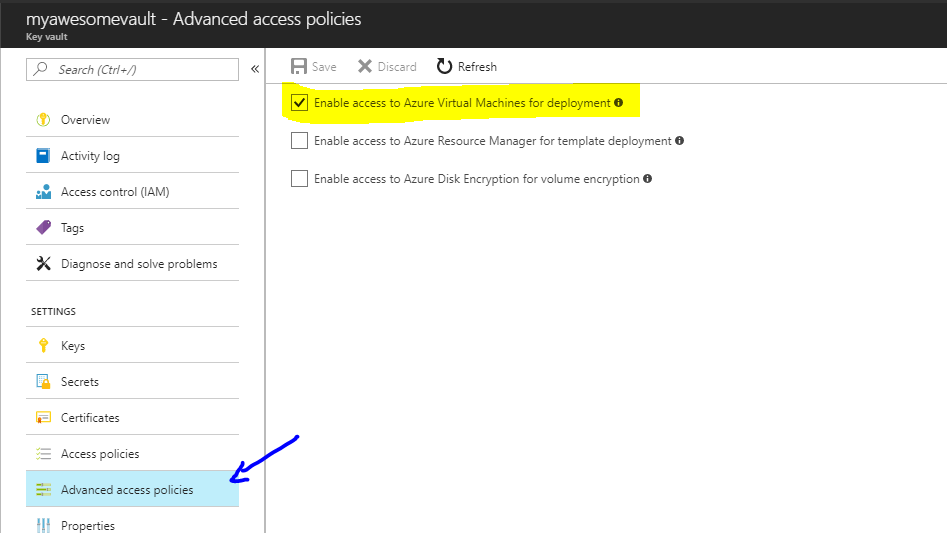
The certificate parameters? All essential to get to our next step. As for the vault, I’ve tried removing them and it’s non-negotiable. It needs it.
What it will do however, is enable a flag on your Key Vault that enables Virtual Machines to retrieve certificates stored in it.
Finally, you’ll most definitely need a username/password. You provide them there. Oh and please pick your own password. It’s just a sample after all.
And that’s pretty much it. What’s left? Importing to certificate so that we can access our Service Fabric Explorer.
Importing the certificate in Windows
1 | # Change the file path to the downloaded PFX. PEM file is also available. |
That’s it. Seriously.
One single command line.
Cleaning up
Of course, if you’re like me and don’t have a load big enough to justify multiple VMs to host your Service Fabric cluster, you may want to clean up that cluster once you’re done.
If you didn’t reuse a Resource Group but created a new one, then the clean up is very easy.
1 | # deletes the resource group called `demo` without confirmation. |
Further reading
If you want to read more about Service Fabric, I’d start with some selected reading in the Microsoft Docs. Let me know if that help!
Essential Service Fabric Concepts
I’ve structured the following list of links to give you a progressive knowledge of Service Fabric.
- Big picture overview of the different Service Fabric Concepts
- Terminology
- Service Fabric Architecture
- Application Scenarios
Creating that first app and deploying it to our newly created service
- Creating and deploying a .NET Core Application on Service Fabric
- Deploying the application to a Party Cluster
- In this scenario, we would just replace the Party Cluster URL with the one we created earlier.